Ceramic bowl materials for the lost wax method
Ceramic shell materials for precision and art foundries. Binders, flour and sanding from fused silica to zircon.
Adbond Advantage
€ 146,45 € 121,03 Excl. tax
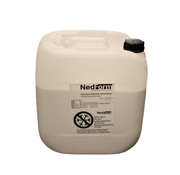
Remasol Adbond Advantage has an increased adhesion to wax surfaces making it an ideal primary binder. A ready to use solution, optimised for the best performance.
CompareBurst RSD 100
€ 19,95 € 16,49 Excl. tax
Burst 100 Antifoam provides outstanding performance under many different conditions. It is compatible with a wide variety of wetting agents, and can tolerate both alkaline and acidic binder systems.
CompareClayrac Aluminosilicate Pieces and Flour
€ 40,- € 33,06 Excl. tax
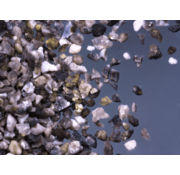
Clayrac is a cost effective aluminium silicate sand and flour. This product is very suitable for art casters in the ceramic shell process.
CompareDry indicator for the ceramic shell
€ 42,35 € 35,- Excl. tax
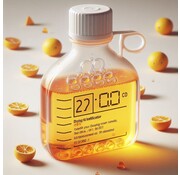
Acid Yellow is a dye used as a drying indicator in the ceramic shell method. It changes color when drying, which helps to monitor the drying process and determine when the next layer can be applied, making the process more efficient.
CompareFused Silika LHT Flour & Sand
€ 107,65 € 88,97 Excl. tax
Good quality fused silica for High thermal stability and low thermal expension. Results in a somewhat flexible shell, better aible to withstand cracks.
CompareJus-Dip ™ ready-to-use slurry
€ 0,- € 0,- Excl. tax
Ready to use instantly! Remove the lid and stir. Your slurry is now ready for use, as Jus-Dip doesn’t need to be constantly stirred you can dip directly from the container. After use the slurry can simply be stored away.
CompareJus-Dip™ Starterkit, Ready to use slurry and stucco kit
€ 0,- € 0,- Excl. tax
A ready-to-use slurry, with 3 bags of Remasil 50 Aluminosilicate
CompareRemasil 50 Aluminosilicate Refractory Flour & Sand
€ 85,- € 70,25 Excl. tax
With Remasil 50 you can produce investment casting shells of excellent refractoriness and high temperature stability, at an incredibly economical rate.
CompareShellspen, Suspension powder
€ 110,11 € 91,- Excl. tax
Shellspen suspension powder keeps solid particles in ceramic slurries evenly distributed, eliminating the need for constant stirring. This makes the process of making ceramic molds more efficient and convenient.
CompareStarter kit DIY Easy slurry and sanding
€ 0,- € 0,- Excl. tax
Make 30 liters of slurry yourself, for the ceramic bowl method, which does not require continuous stirring. Includes 2 bags of aluminum silicate for stucco.
CompareVictawet 12
€ 24,95 € 20,62 Excl. tax
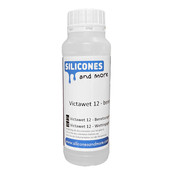
VICTAWET 12 is a non-ionic, low foaming, organic phosphate ester, which makes the slurry more easily adhere to the wax.
CompareZircon Flour and Sand calcined
€ 138,19 € 114,21 Excl. tax
Calcined zircon ideal for high quality contact layer in the ceramic shell-lost wax process.
Compare- Pay later with Klarna
- 30 Days return period!
- Advice from real Experts
Here is an interesting You-Tube channel by Eric W Stephenson, who clearly explains the different steps of the lost wax process with the ceramic bowl.
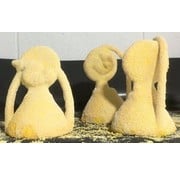
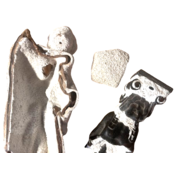
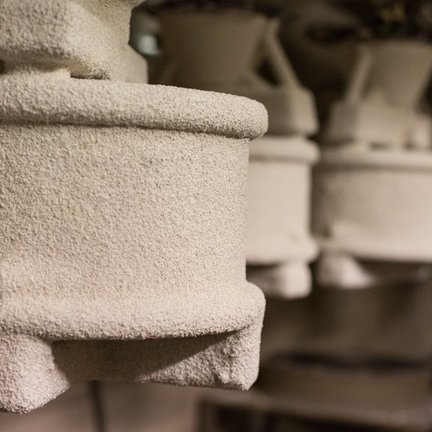
The ceramic shell method is a lost wax method (other combustible products can also be used). In this method, a wax model is made, around which a hard, heat-resistant shell is made. The wax is fired and the model is lost (hence the name). The remaining hard shell is suitable for casting aluminum up to and including bronze.
The ceramic shell method is a proven technique that has been used in precision foundries for many years.
The ceramic shell is also increasingly used in the art foundry and is now often used in addition to the chamotte method.
The method consists of a slurry made from a binding liquid and a flour and a sanding material. Through a repeated process of dipping in the slurry and sanding, a shell is built up from several layers over a few hours to days. The number of layers varies on average between 6 and 12. This process usually takes between 3 and 6 days.
The resulting shell can be baked in 2 hours, which saves a lot of energy compared to the plaster/chamotte method.
In addition, the shell is a lot lighter than a plaster or chamotte mold, which is also more pleasant for many people.
The ceramic shell method is fairly simple for sporadic use, but if you want to use this method continuously, it is useful to set up a clear process. We would of course be happy to assist you with this.
We offer 3 options for the ceramic shell
1) The original option and the most commonly used option in larger foundries. A slurry is made by mixing a binder (a water-based silica and polymer suspension) and flour. If necessary, a drying indicator, wetting agent and defoamer may be added. Please note, our binder already contains wetting agent, defoamer and polymer, so you usually do NOT need to purchase these separately.
The advantage of this is that the products can be kept unmixed for many years. The disadvantage is that the slurry must be continuously mixed after mixing. If the slurry stands still for too long, it will gel and thicken and can no longer be used. So one must have a mixing machine that runs 24/7 all year round. This is often a problem for smaller users. Optionally, you can also prepare a smaller quantity that can then be used up in one go, possibly not by dipping but by pouring the slurry over the model.
2) A very handy second option is to use a ready-made slurry. The manufacturer has already made a slurry for you from binder and flour. Even better is that this slurry does not have to be stirred continuously. For use only and once a week. This slurry naturally contains all components: binder, flour, coating agent, defoamer, a suspension agent and a drying indicator.
Due to the amount of labor required to mix small packages in our warehouse every week, we only offer large packages.
The disadvantage of this product is that you have no control over which flour is used. Of course you can adjust the fluidity and the like by adding binder or flour yourself.
Another disadvantage is that the shelf life is usually a maximum of 1 year.
We recommend that you also read the manual in option 1 to know how to further maintain and adjust a slurry
3) The newest option we offer is a combination of the 2 previous options.
We then supply all the materials to make your own slurry as in option 1. However, in this process you also add a third component (Shellspen suspension powder). This means that continuous stirring is NO longer necessary!
This way you have all the advantages of option 1: maximum control over the slurry and maximum shelf life of the unmixed components and the advantage of option 2 of no longer having to mix continuously!
We recommend that you also read the manual in option 1 to know how to further maintain and adjust a slurry
On this page we offer all the products mentioned as well as ready-made combinations, so you can see what is possible. Of course, it is best to contact us if you want to place other combinations or larger orders.
Explanation of the three different options
Option 1:  Manual - ceramic shell English V3.pdf
Option 2:  EN - Product information JusDip!.pdf
Option 3:  Manual Shellspen with Adbond.pdf
We recommend that you read the above manuals carefully so that you have an idea of what is involved in the ceramic shell process.
In addition, we strongly recommend keeping a journal of the quality of the slurry and what you did to adjust it (or put it together the first time). An example can be found here:
Keeping a notebook per image is also recommended so that you can record your experience and use it in the future. An example can be found here:


